Linux Raspberry Pi
Pi-hole Network-wide Ad Blocking Server
Configured and secured a Raspberry Pi running Pi-hole to provide network-wide DNS filtering, advertisement blocking, and additional security hardening using Linux administration tools.
Overview
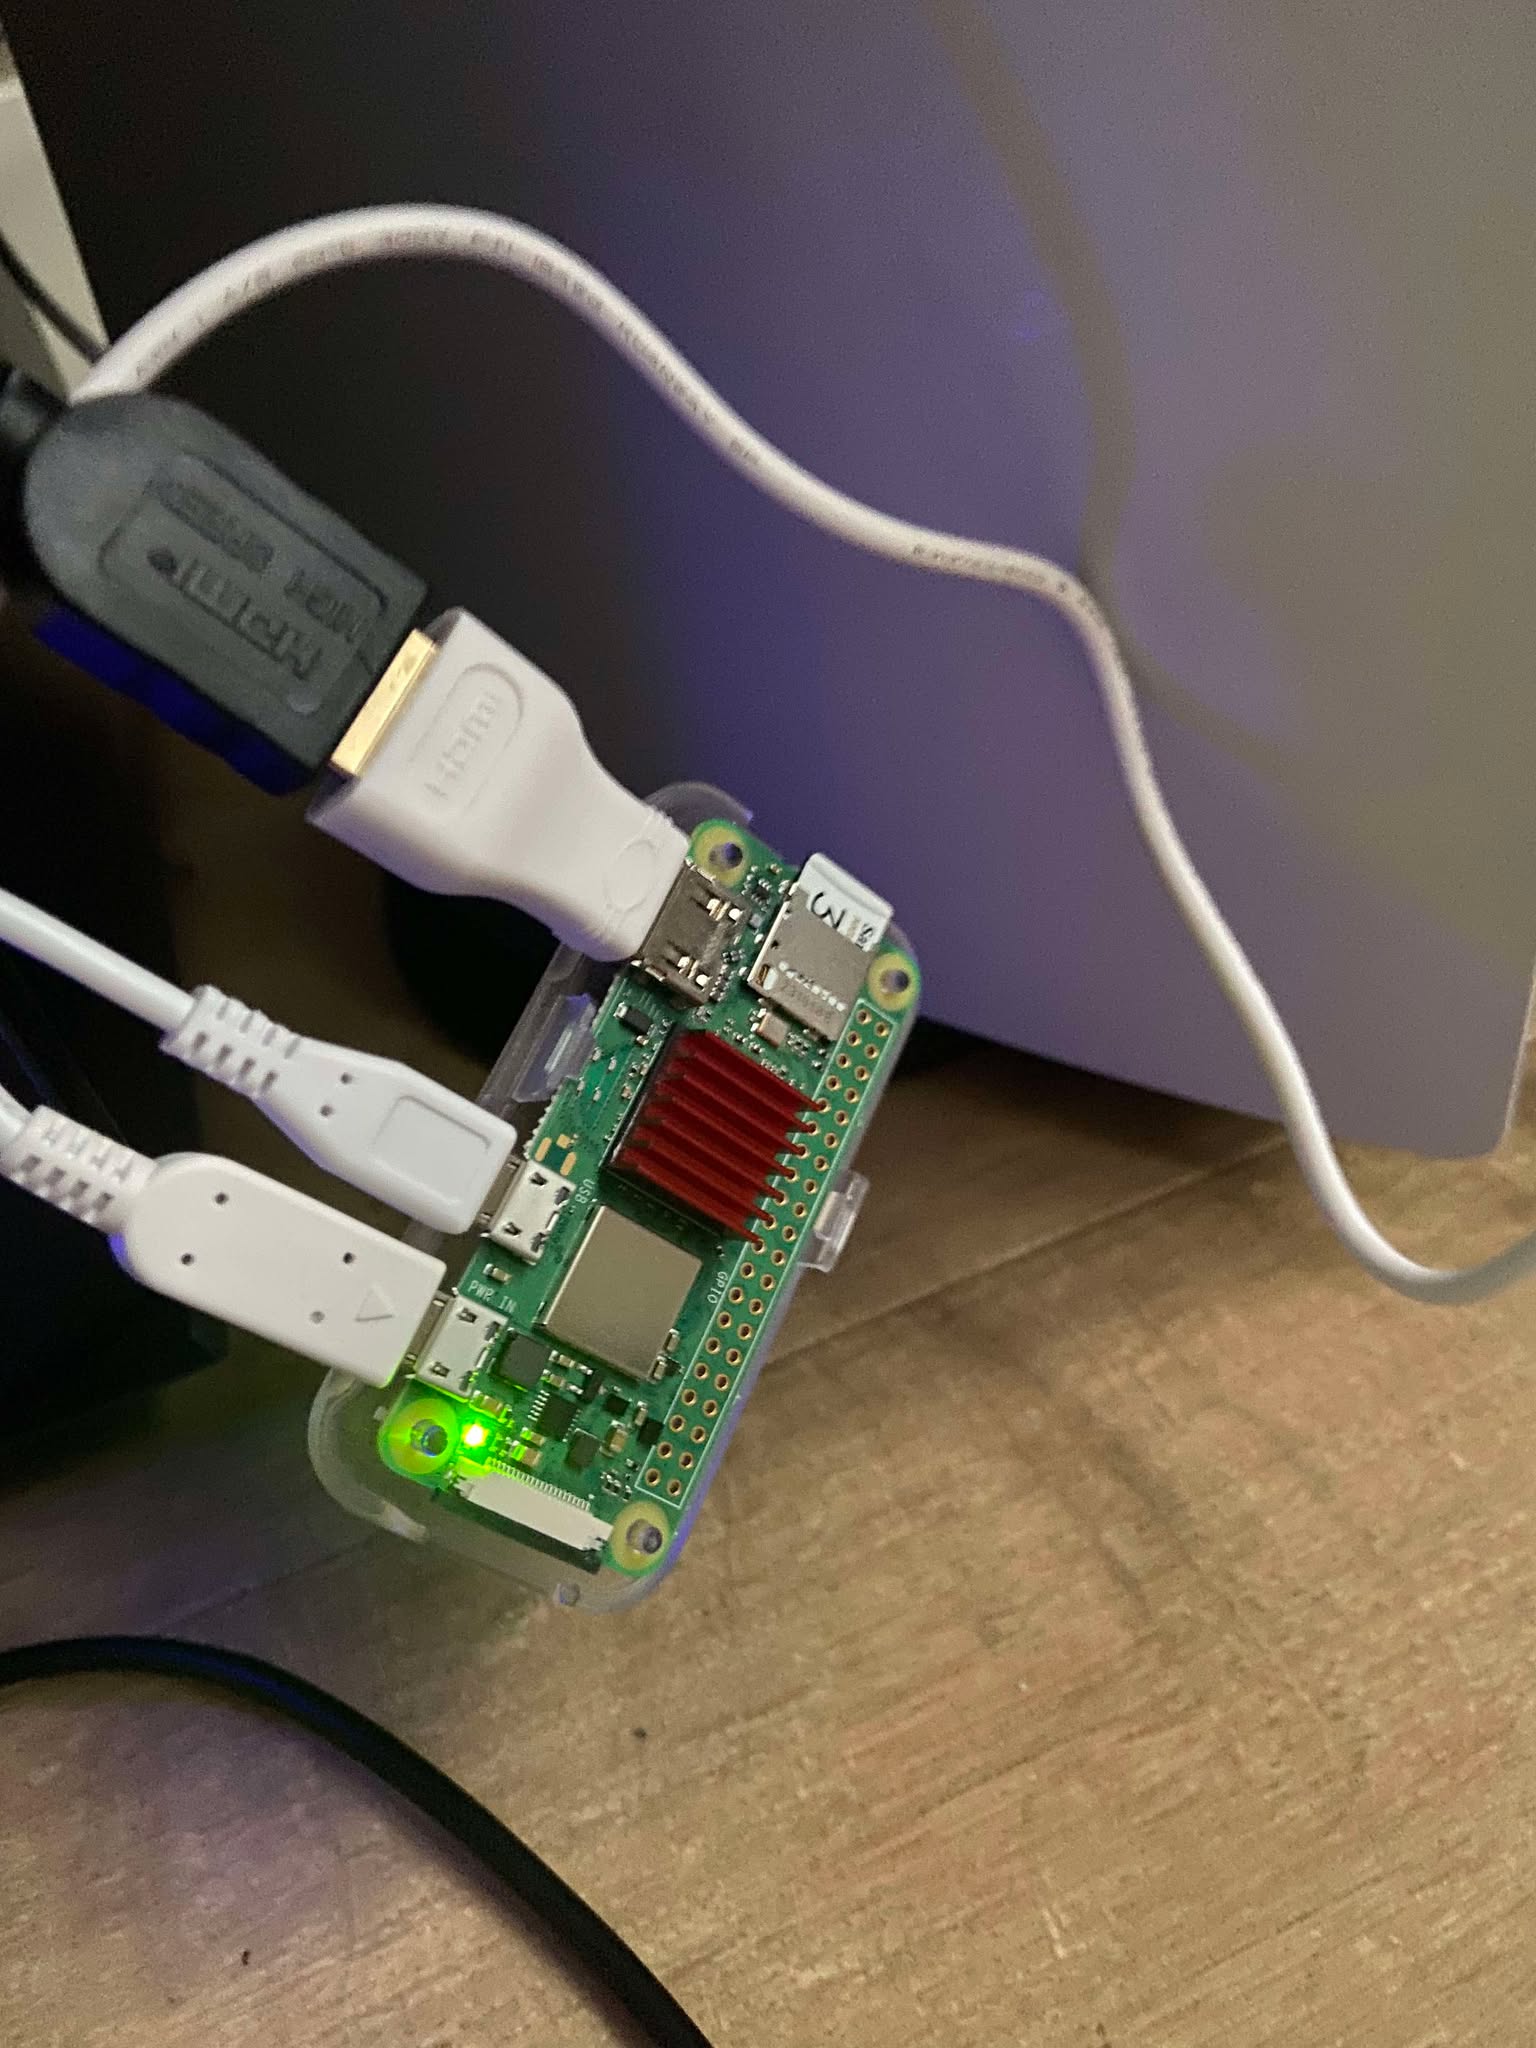
This project involved deploying Pi-hole on a Raspberry Pi Zero 2 W to create a DNS-based advertisement and tracker blocking solution for my home network. Rather than stopping after installation, I also hardened the system by configuring a static IP address, securing SSH, deploying Fail2Ban, enabling a firewall with UFW, and configuring the router to use the Raspberry Pi as its primary DNS server. This gave me practical experience administering Linux systems while improving both network performance and security.
Skills Demonstrated
- Linux system administration
- Raspberry Pi deployement
- DNS configuration
- Network security
- SSH hardening
- Firewall configuration
- Fail2Ban configuration
- Static IP configuration
- Router administration
- Linux terminal usage
- Remote administration with SSH
Tools Used
- Raspberry Pi Zero 2 W
- Raspberry Pi OS Lite
- Pi-hole
- Bash
- SSH
- Fail2Ban
- UFW Firewall
- Nano
- Vodafone Router
Process
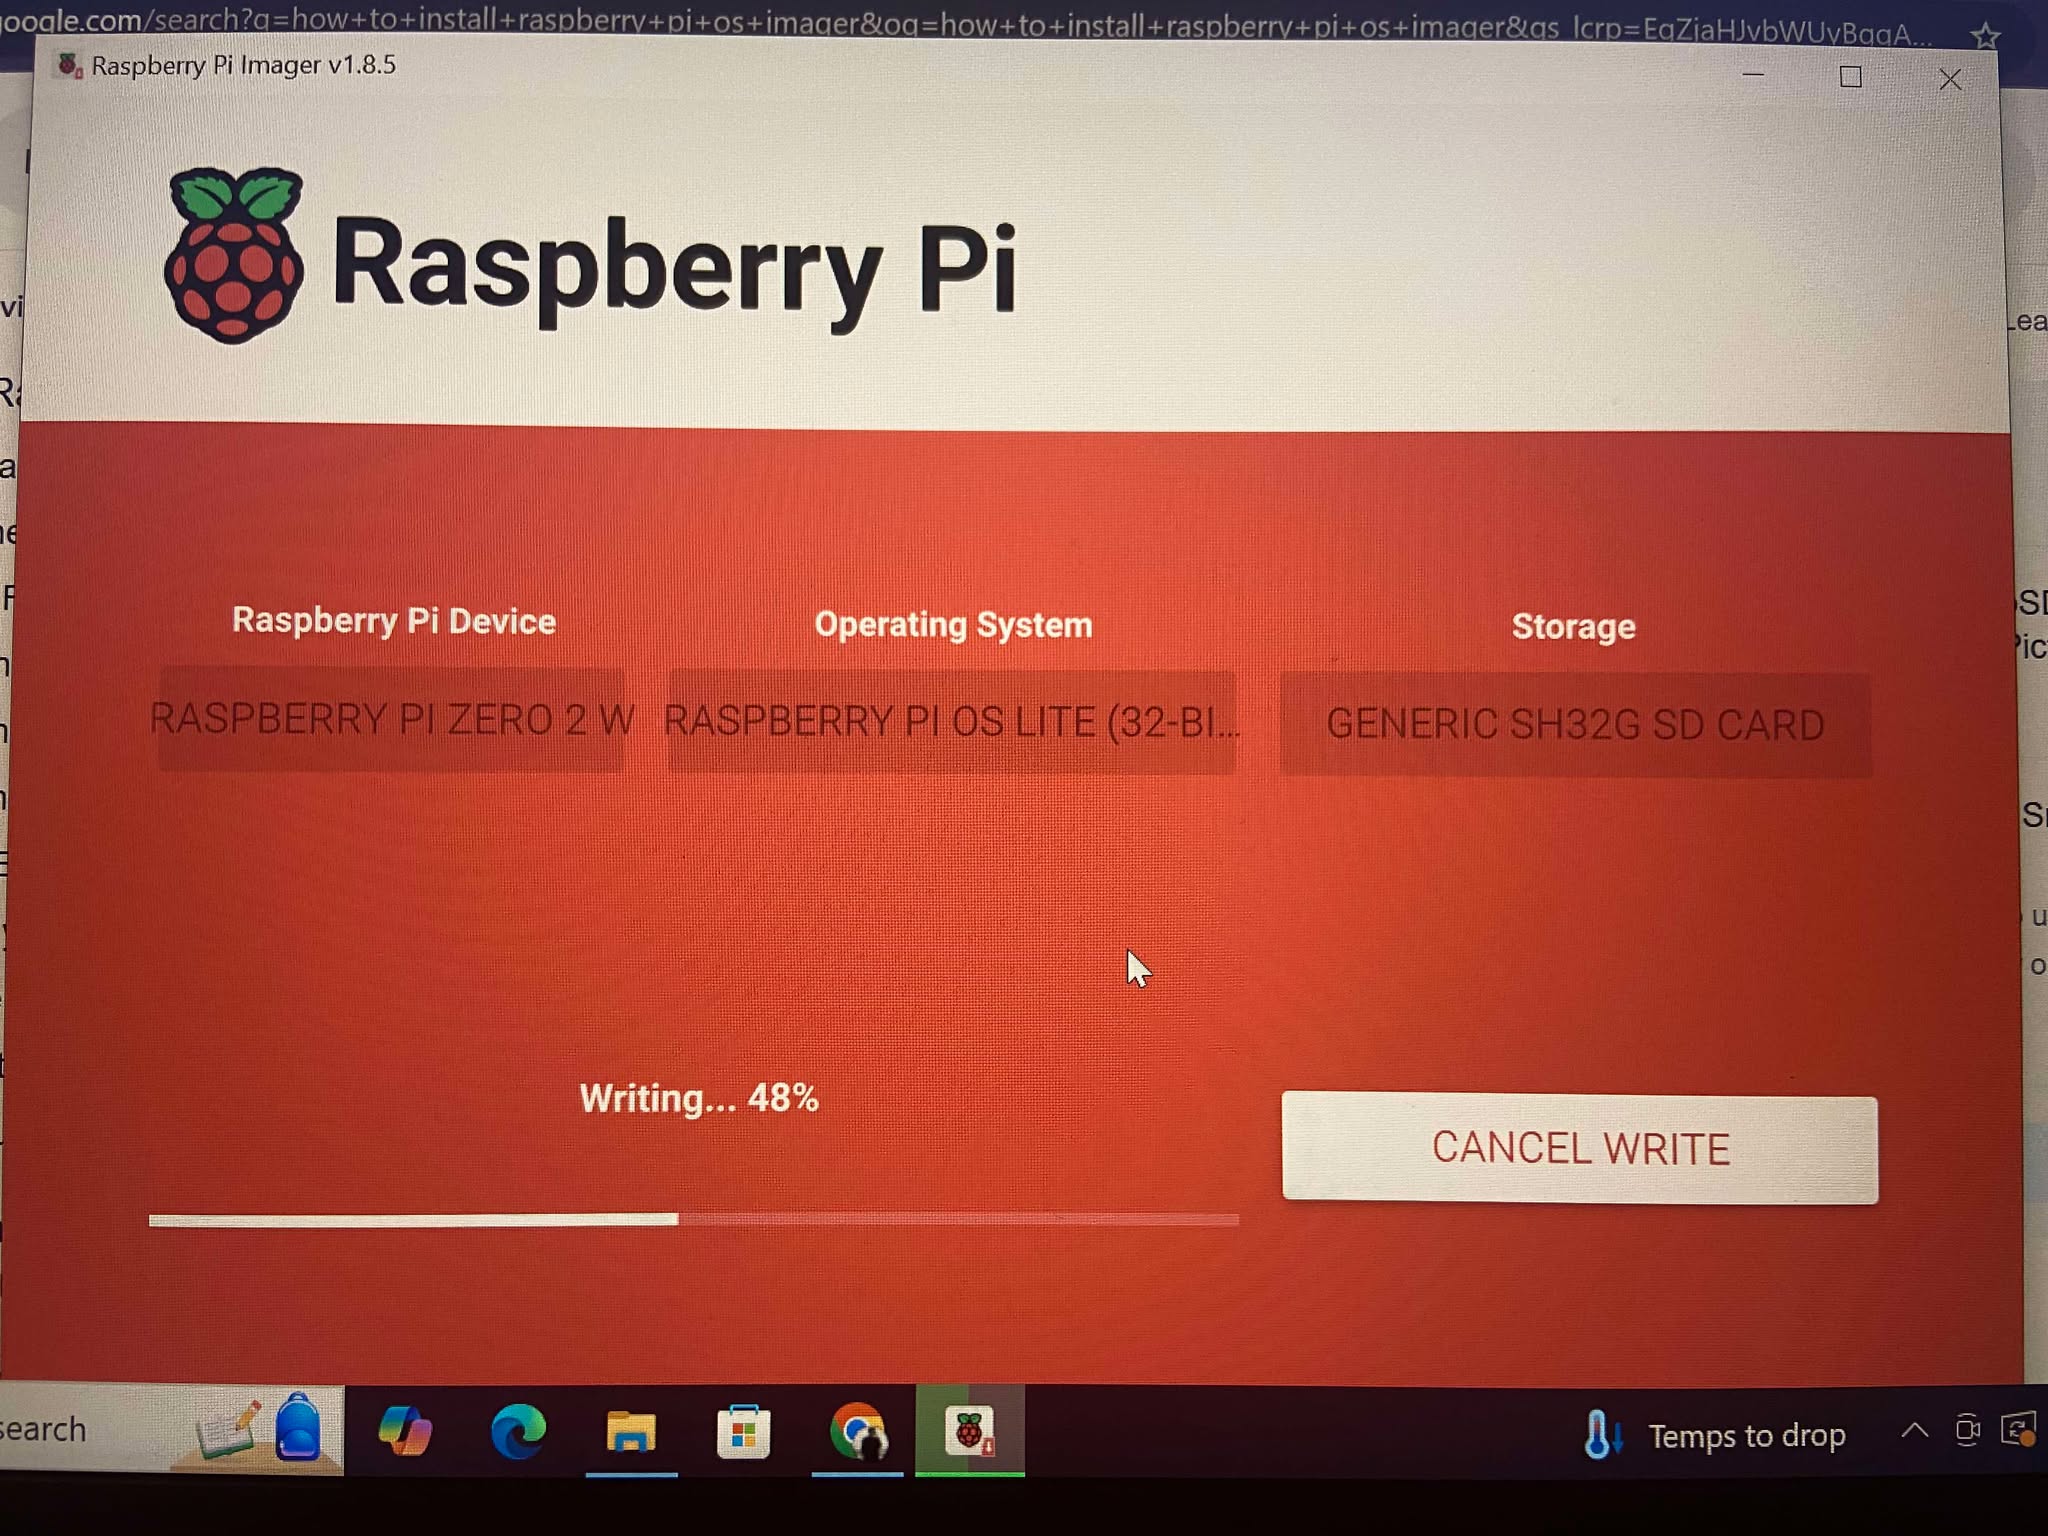
Installing Raspberry Pi OS
I installed Raspberry Pi OS Lite onto a microSD card using Raspberry Pi Imager before completing the initial operating system setup. This included updating packages, enabling SSH, and preparing the device for remote administration.
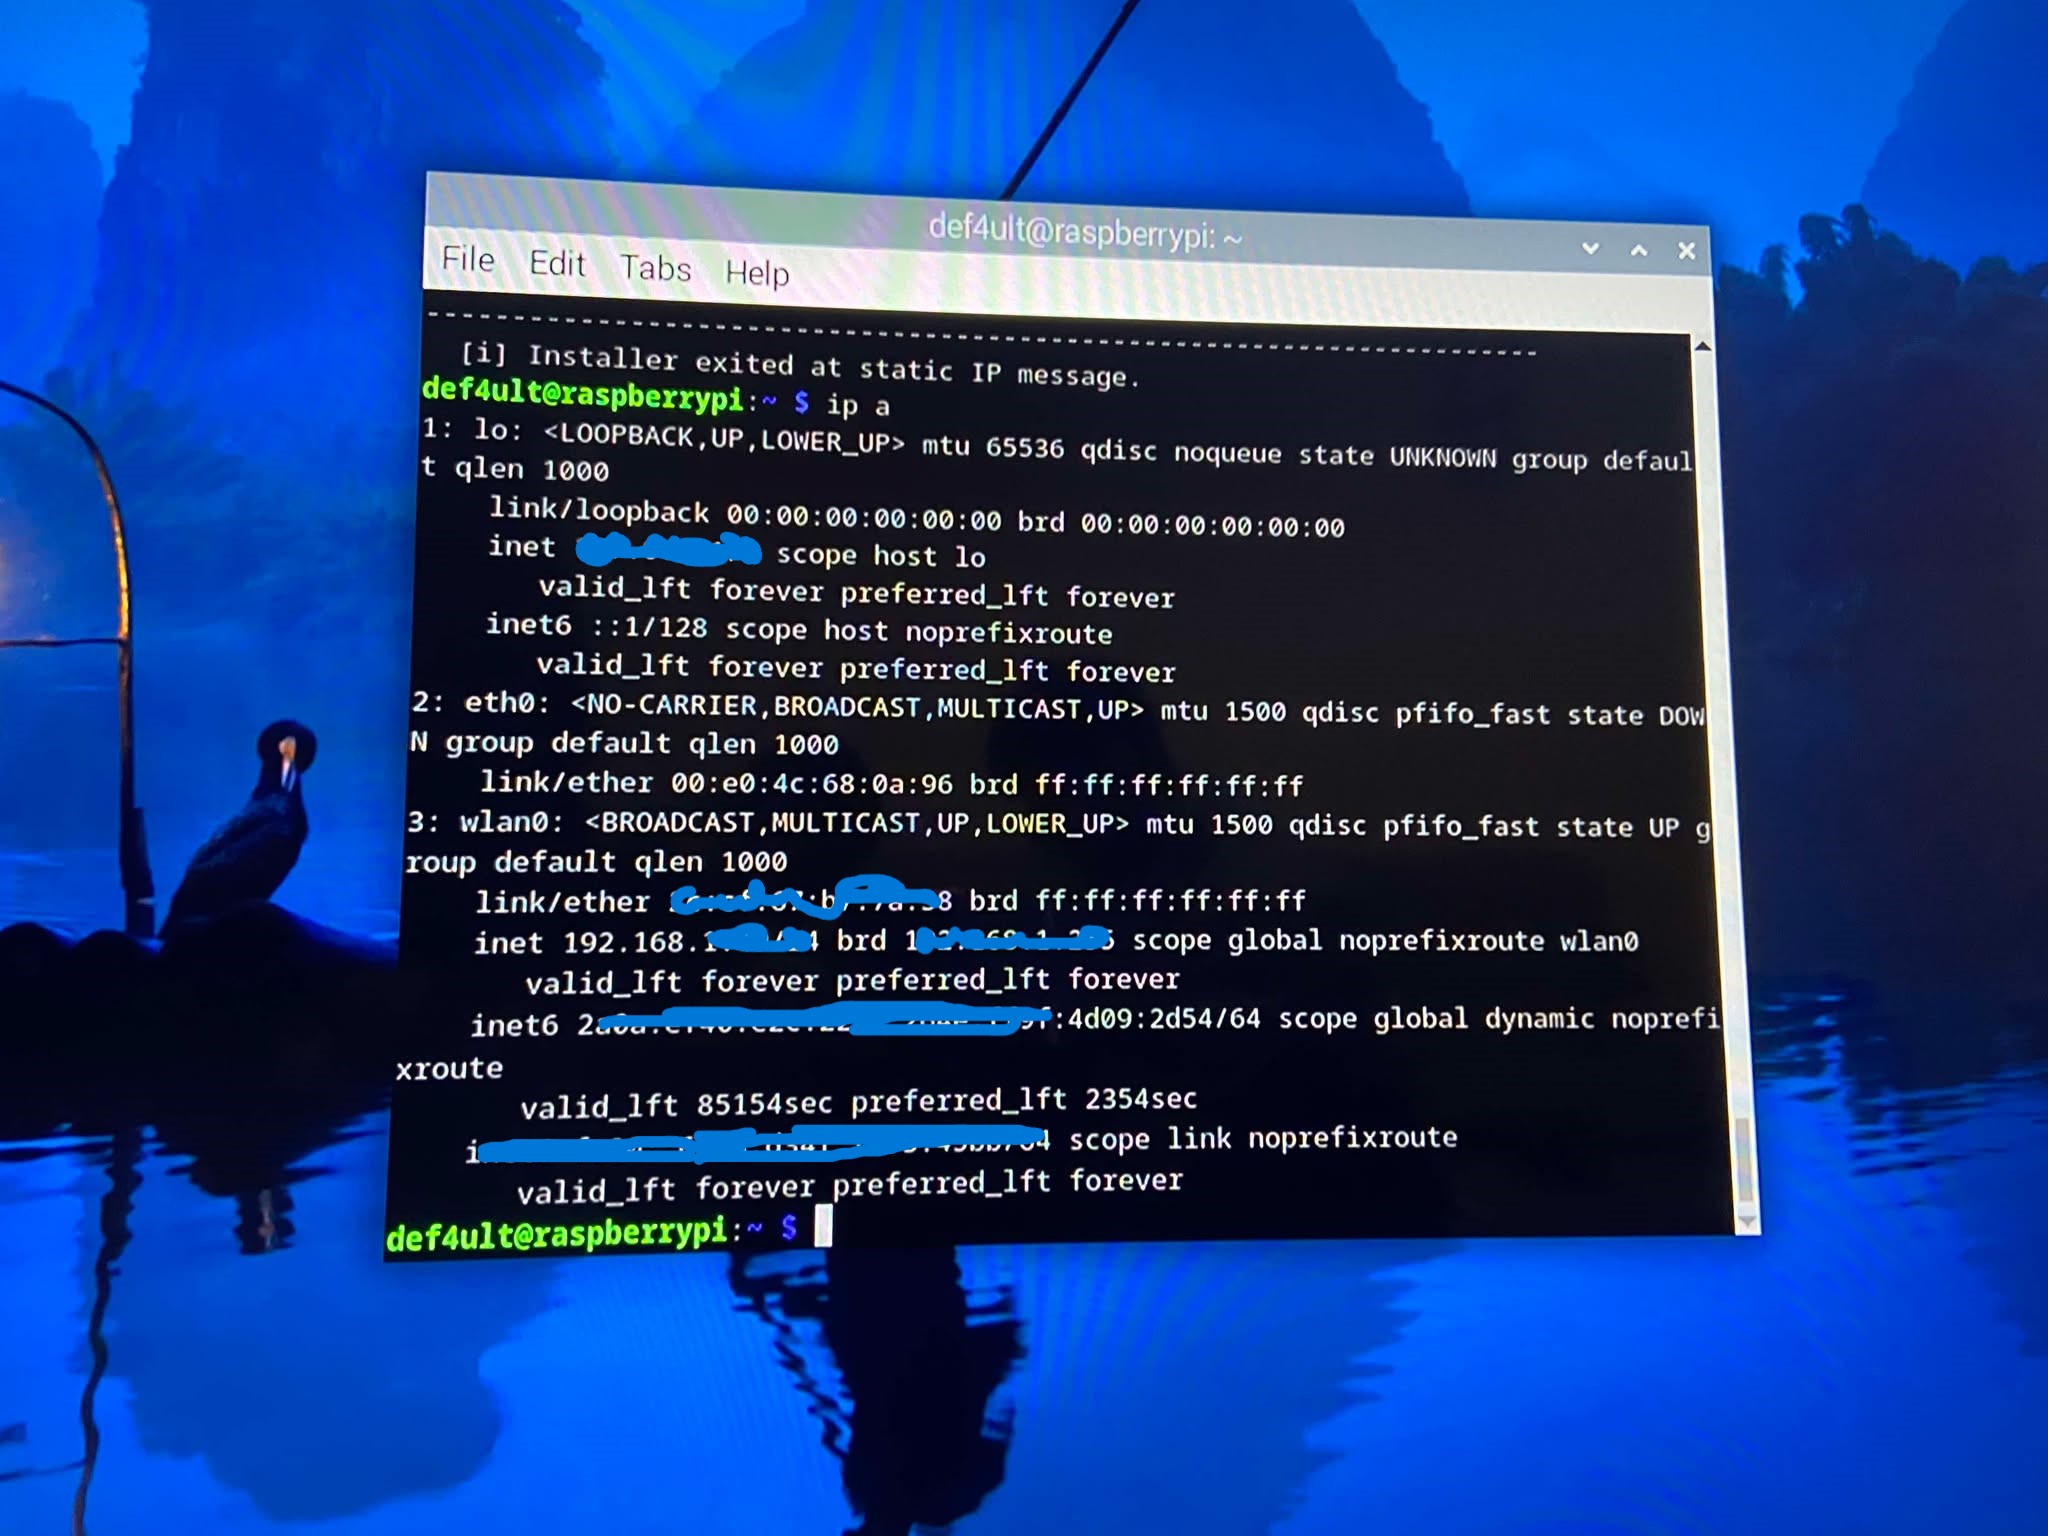
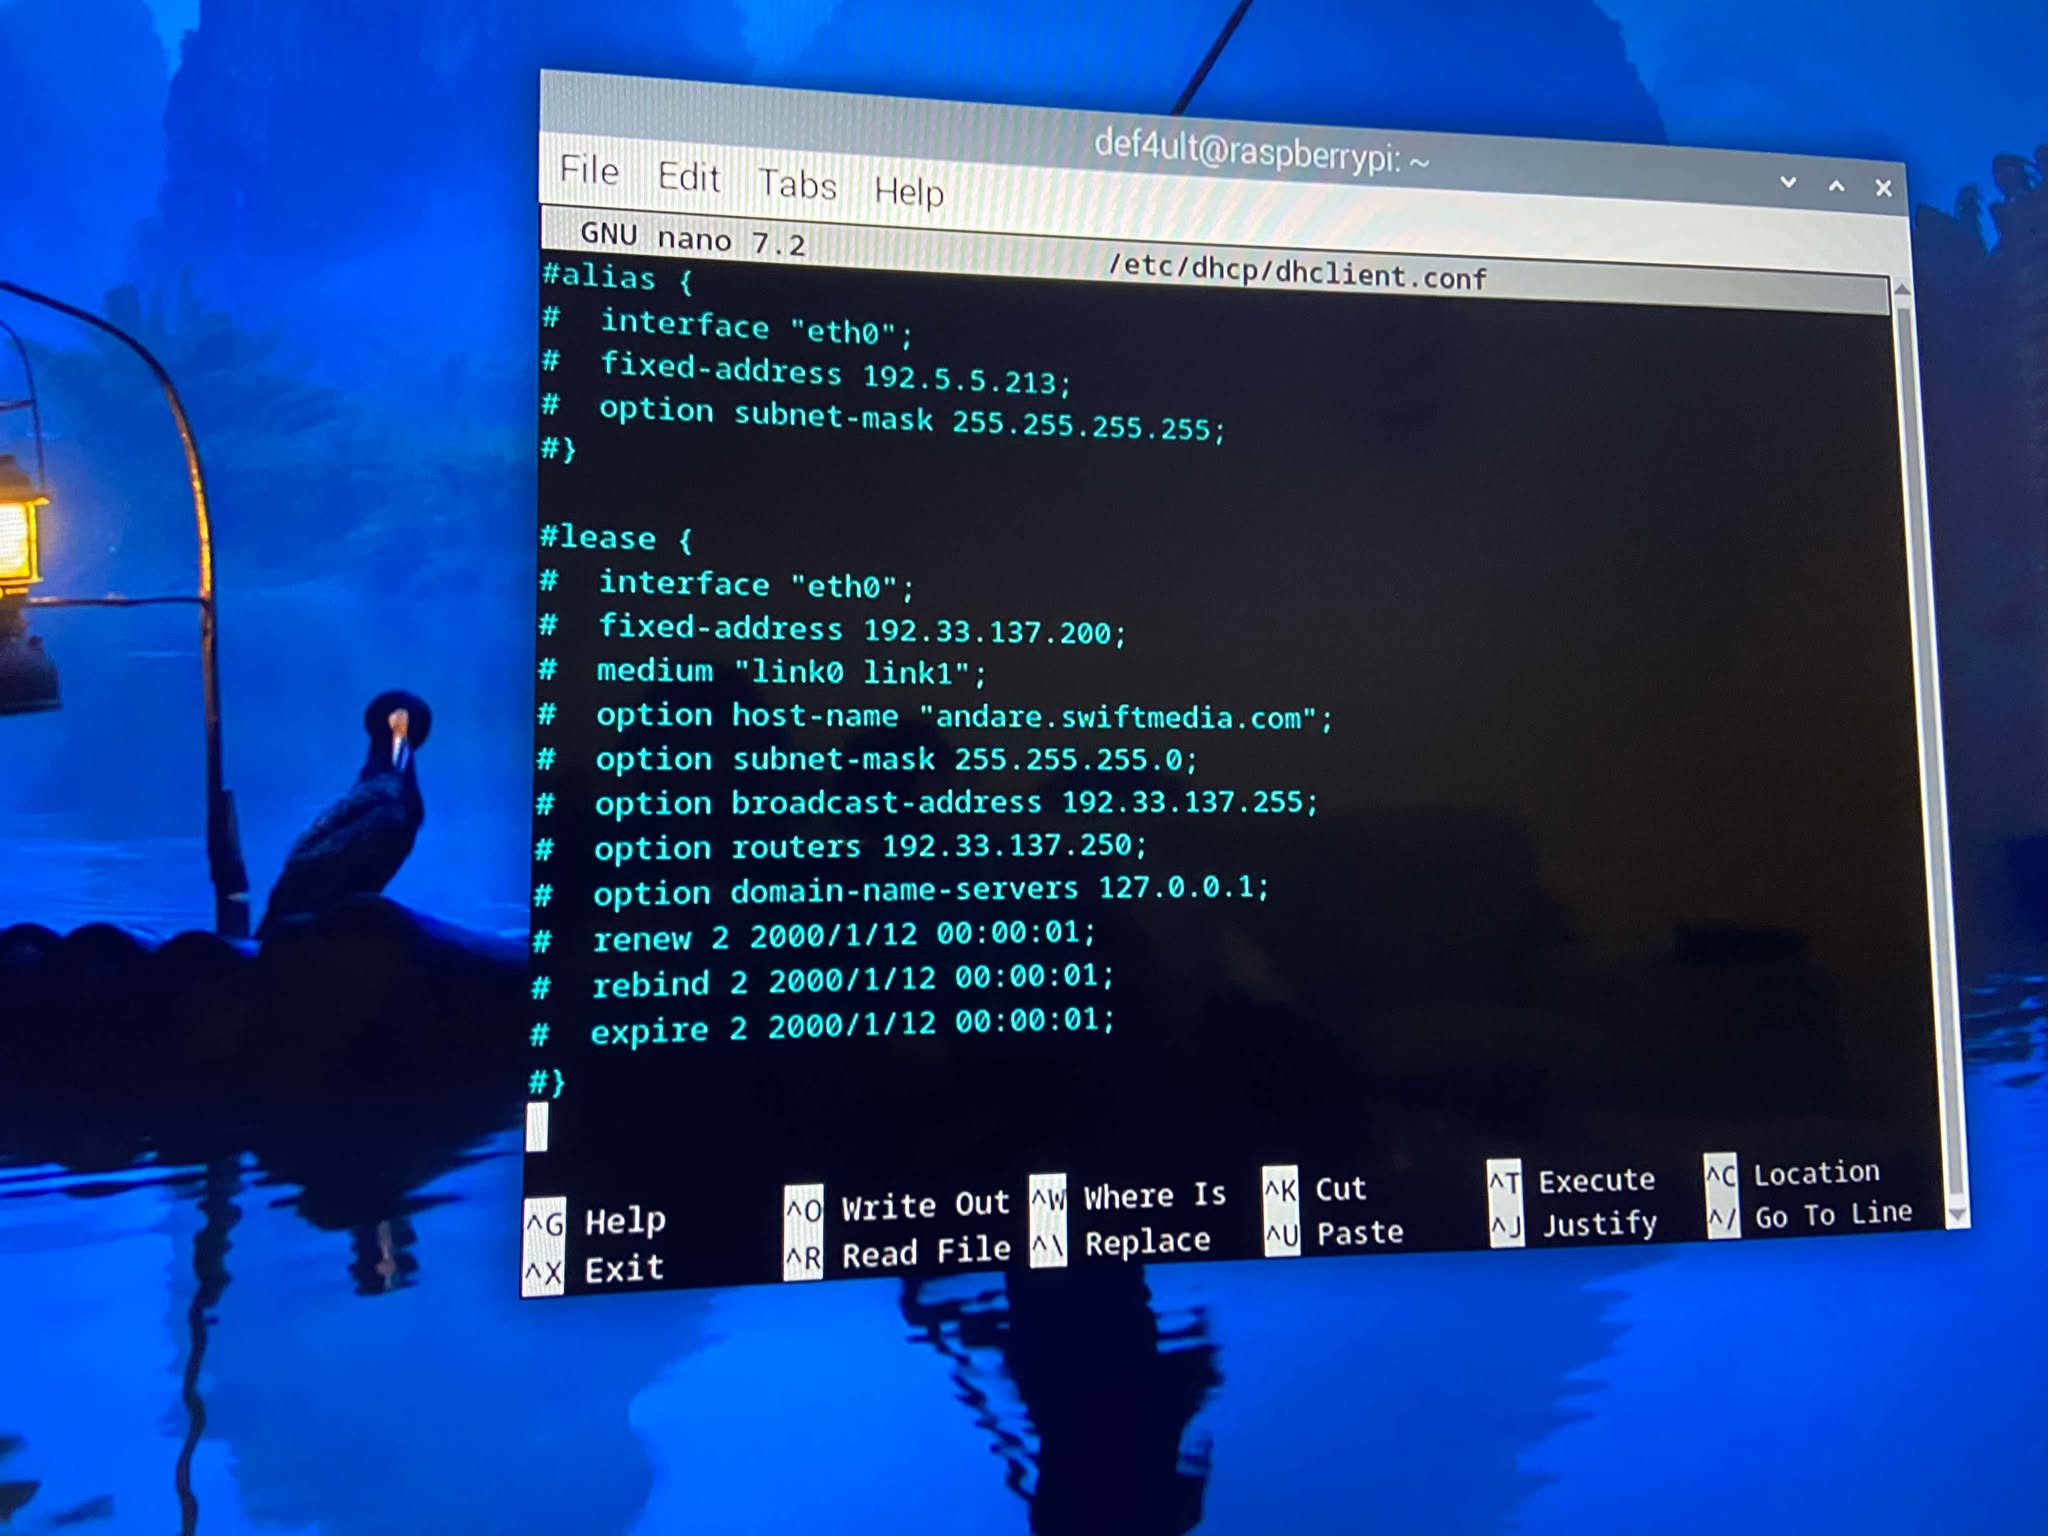
Configuring a Static IP Address
Since Pi-hole acts as the network's DNS server, it requires a static IP address. I configured the Raspberry Pi with a fixed address to ensure connected devices could always locate the DNS Service.
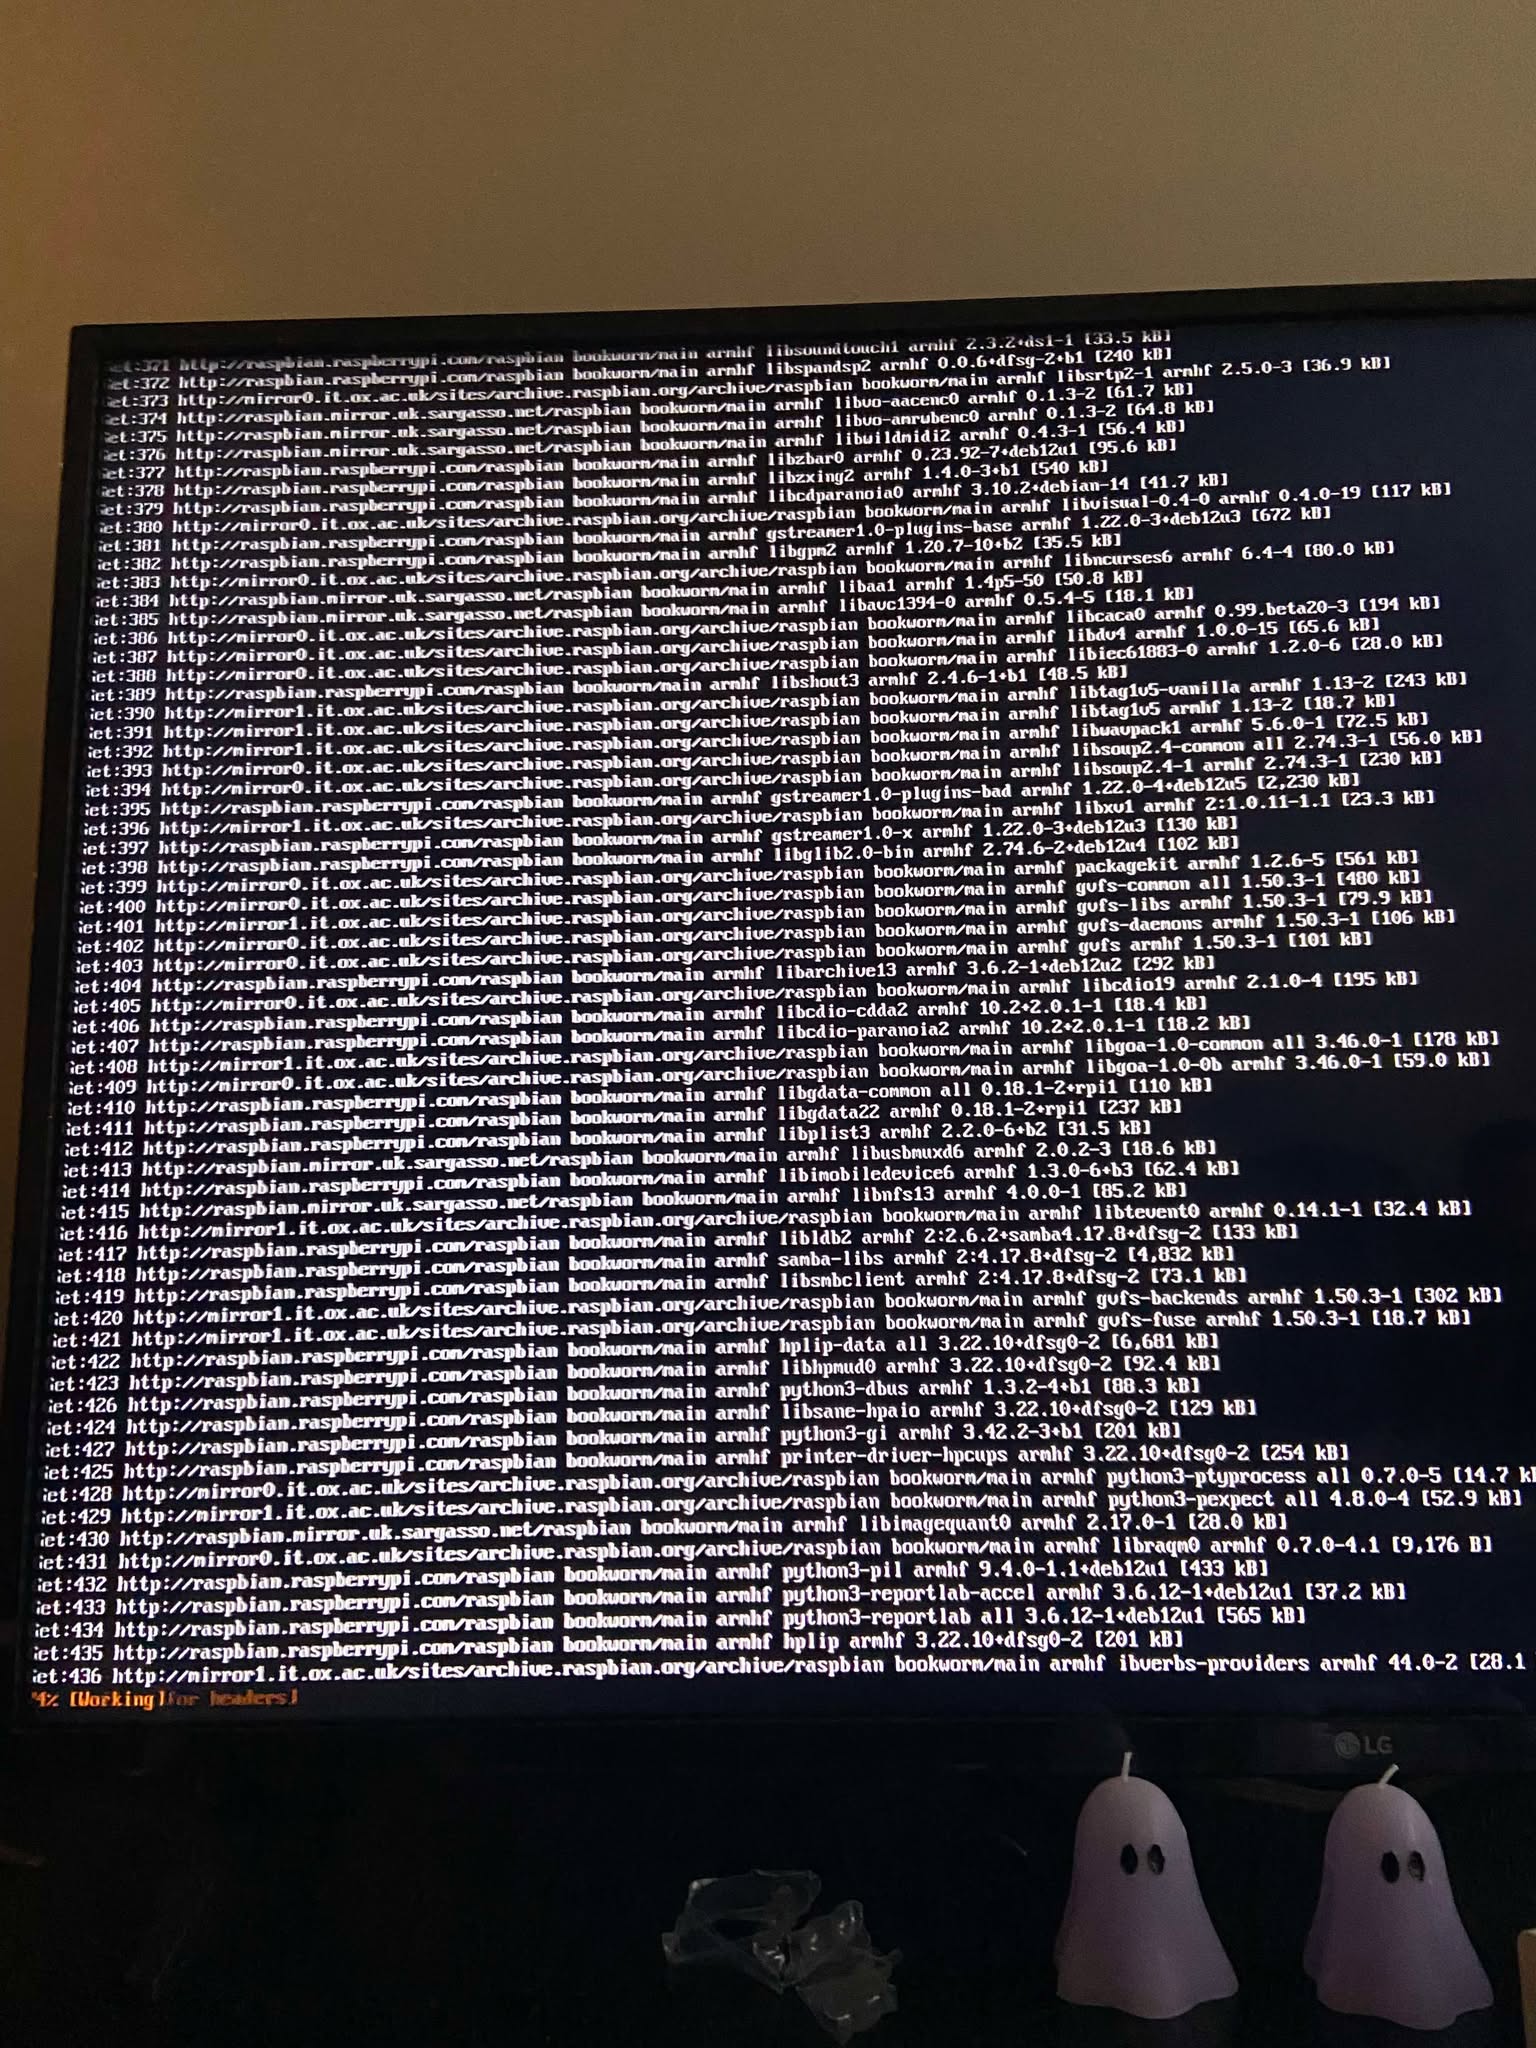
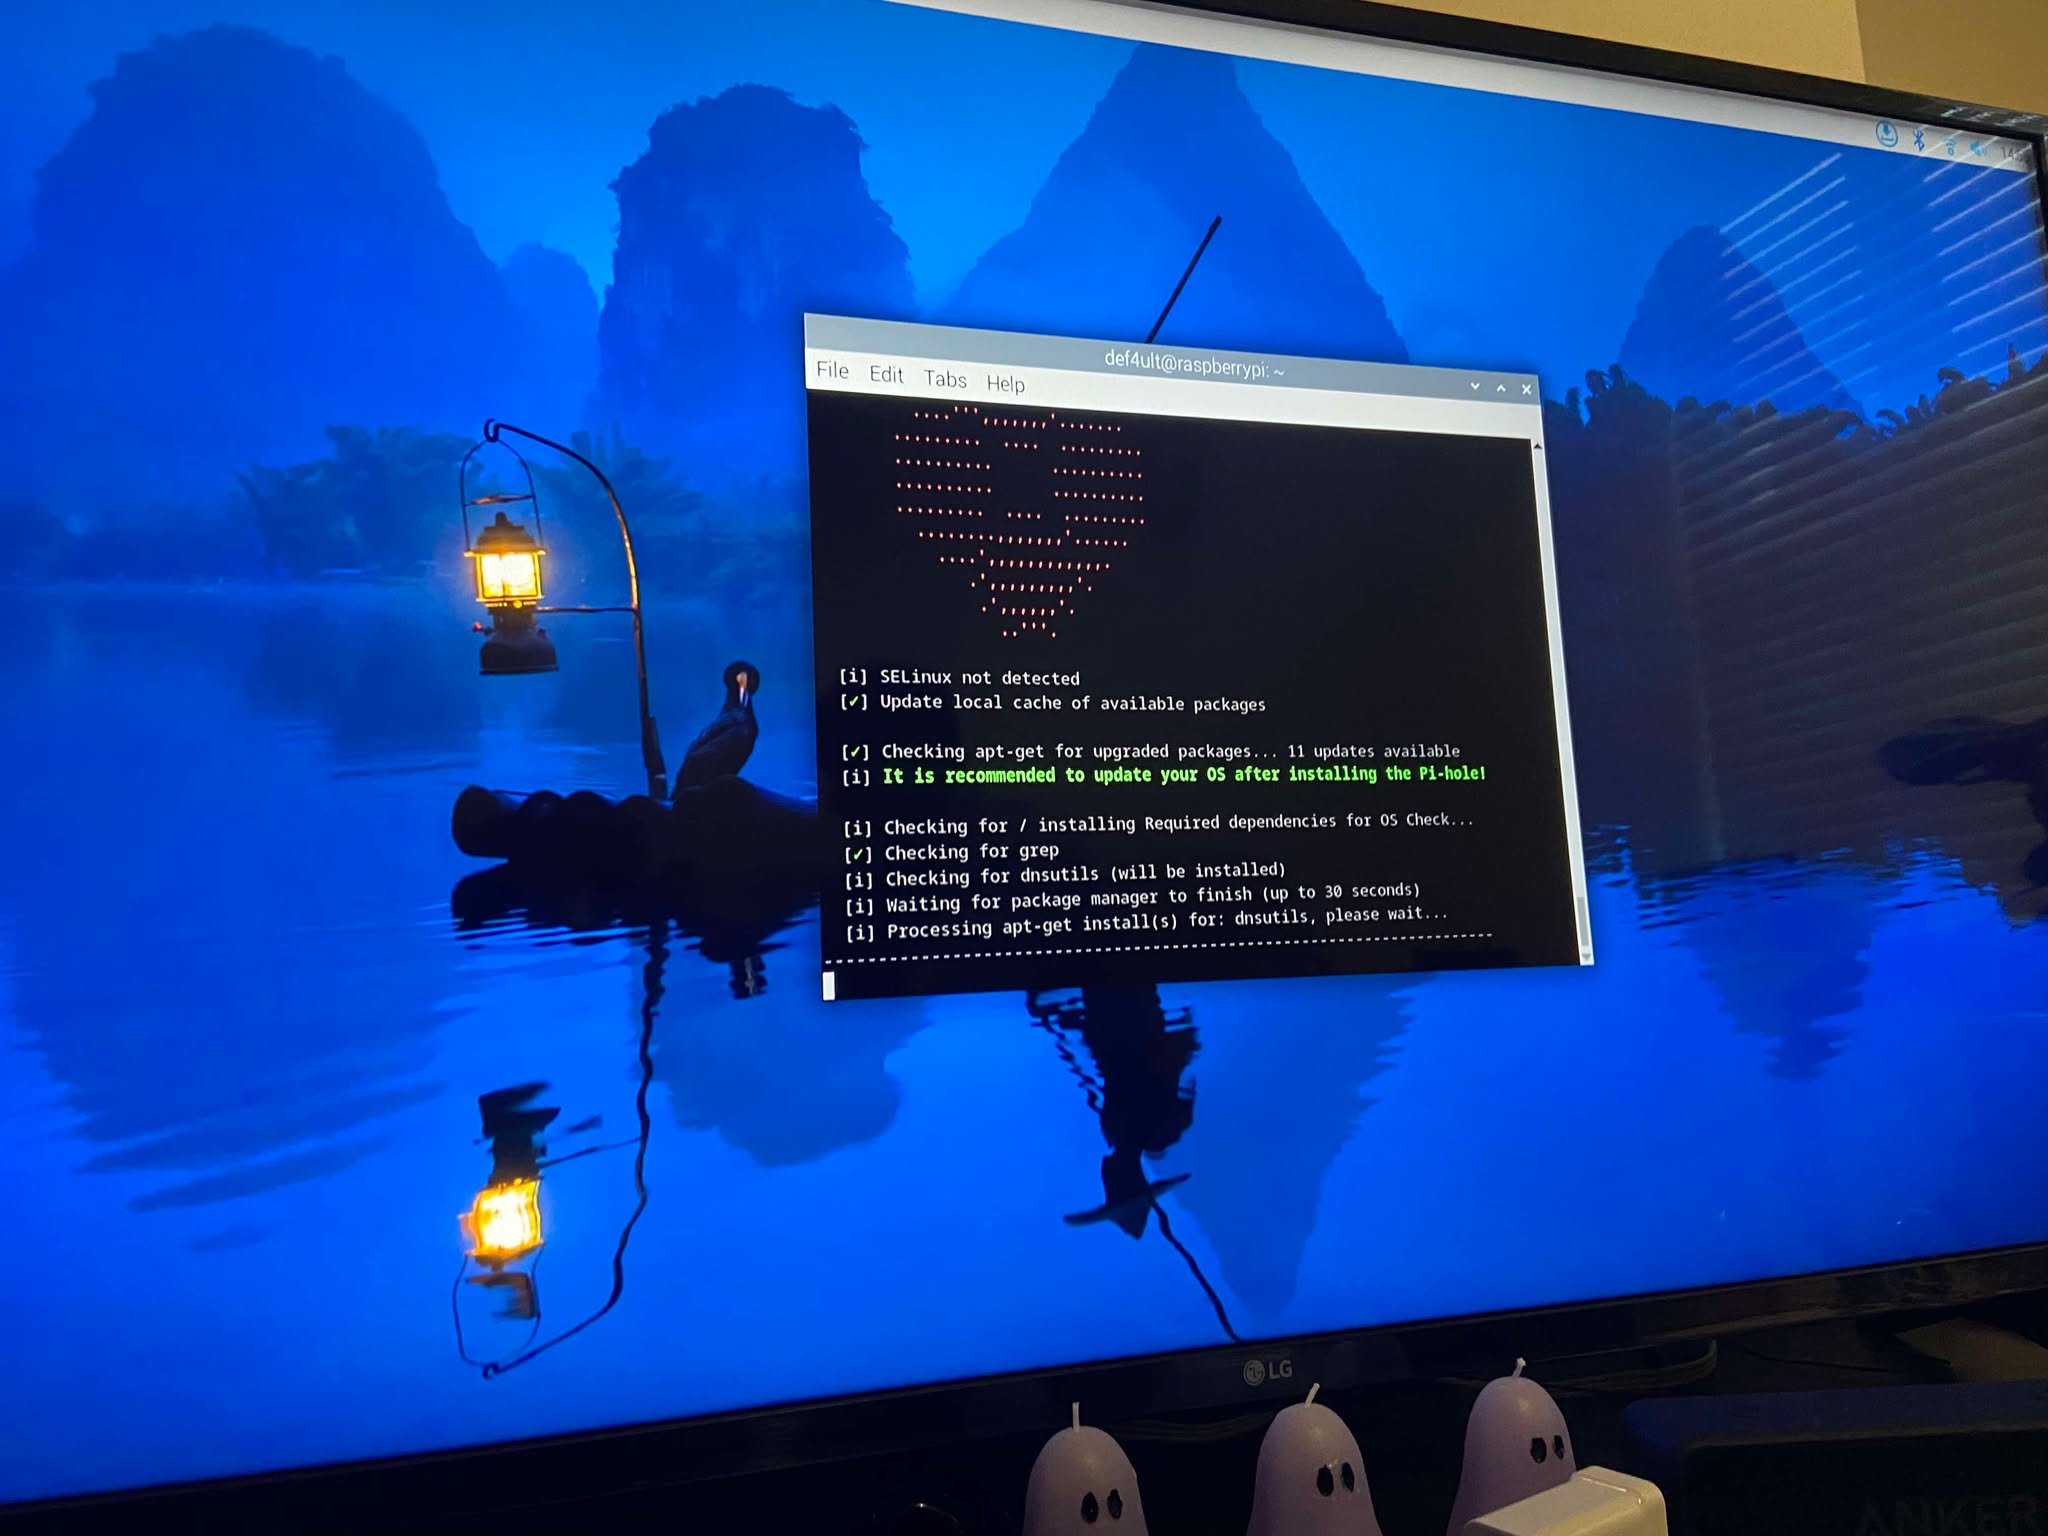
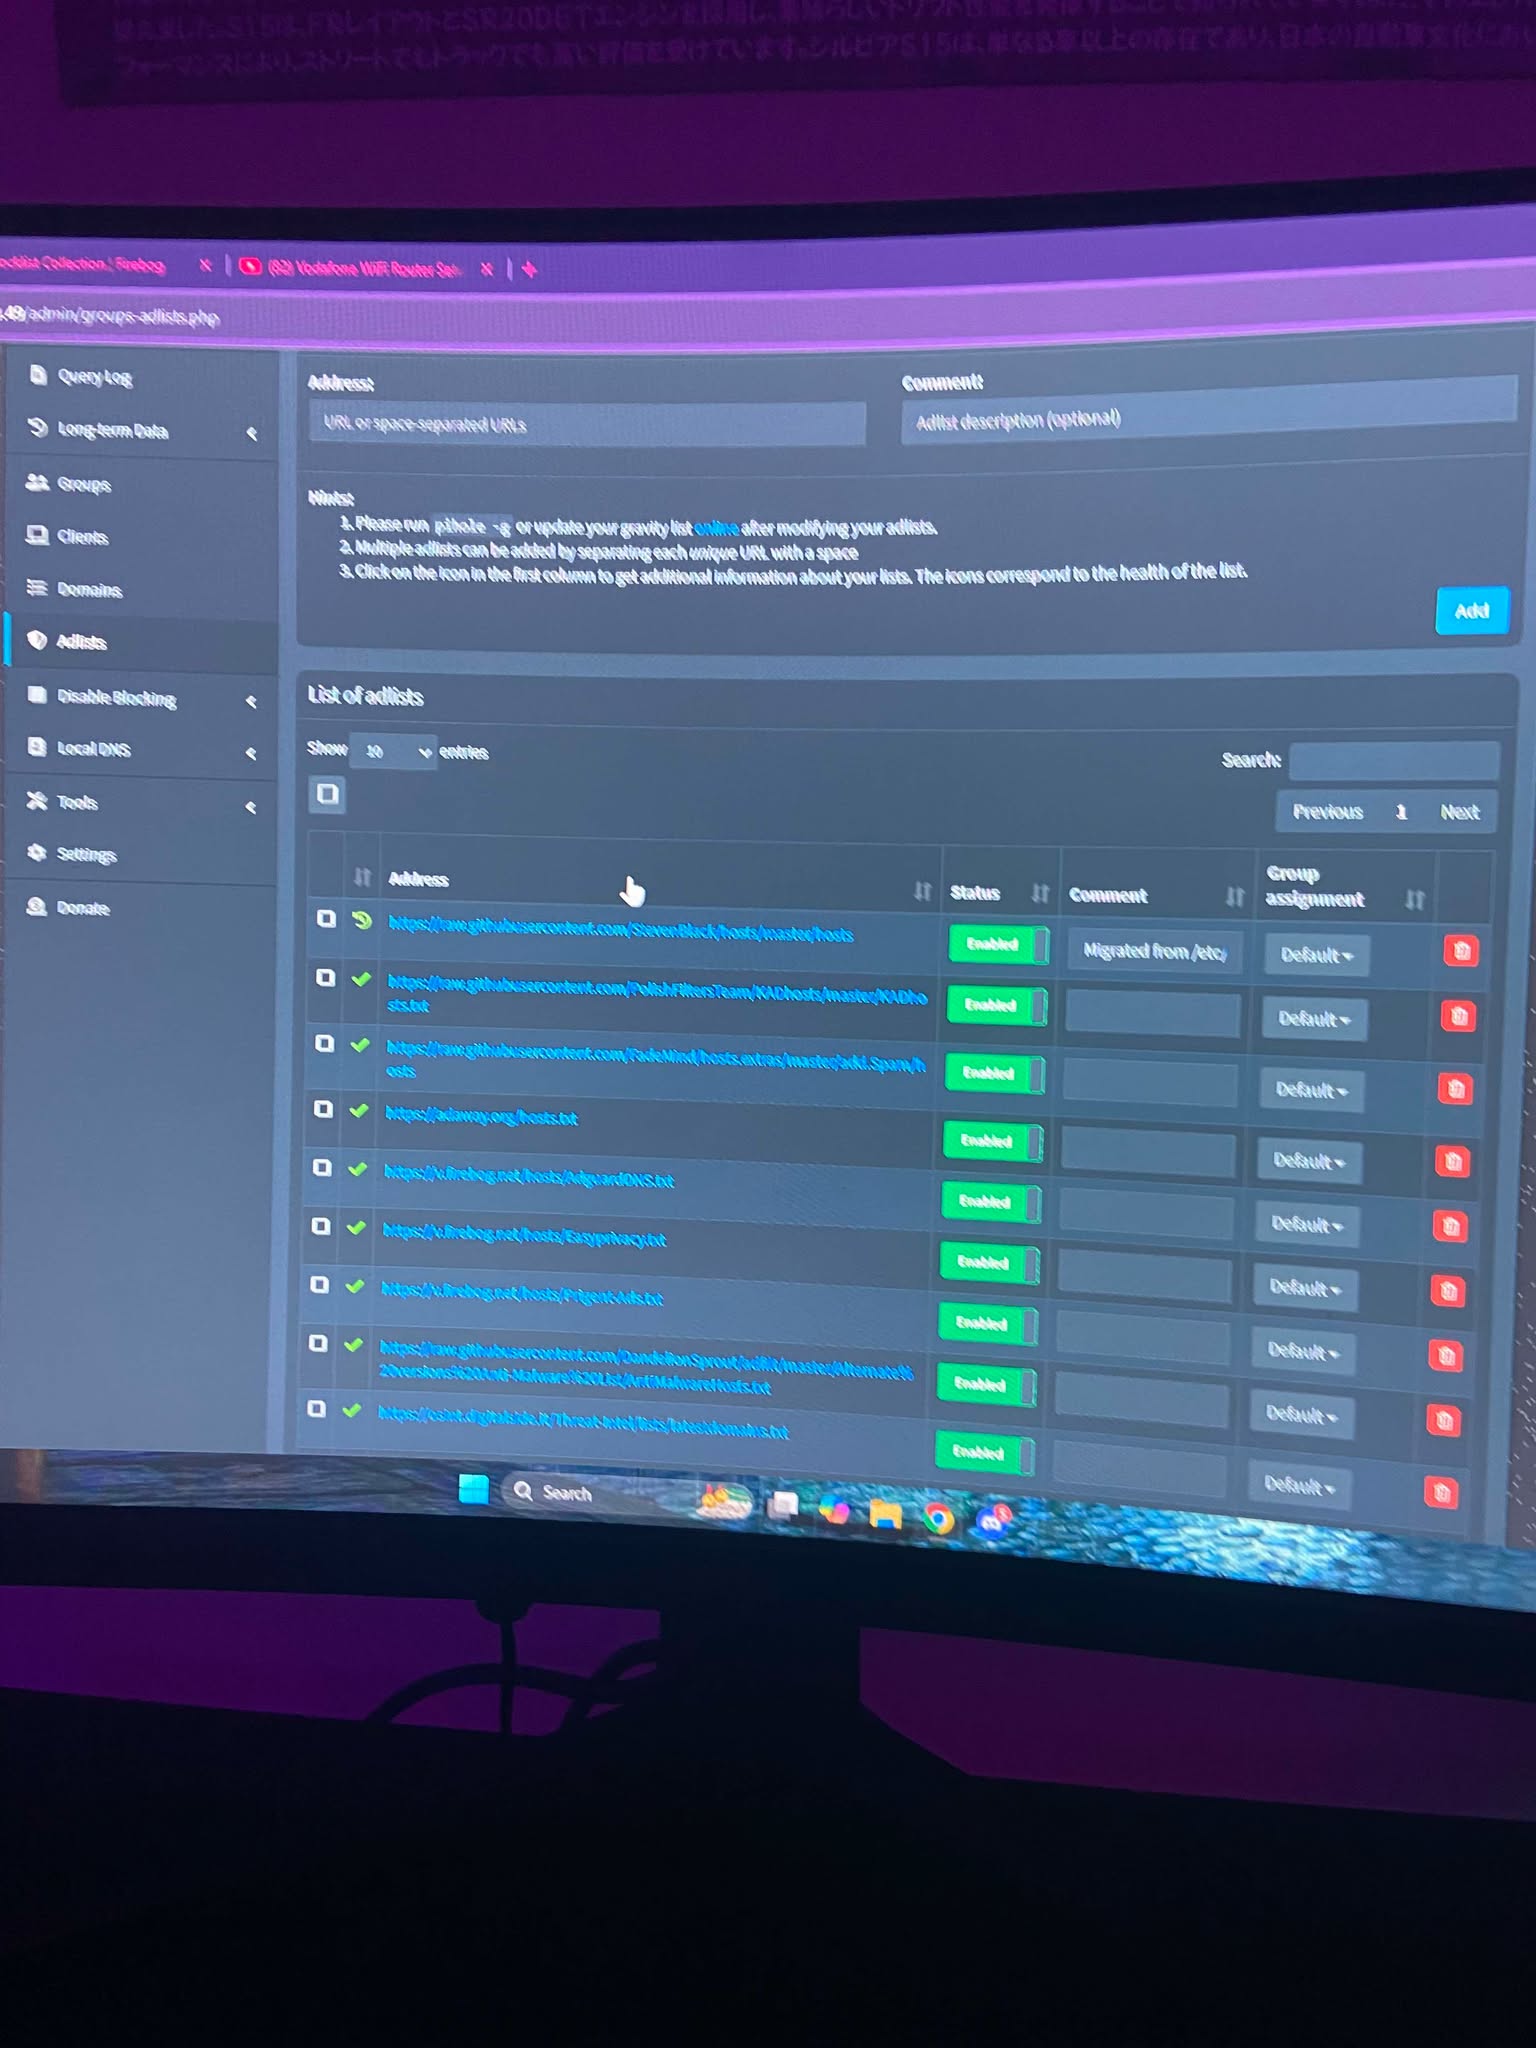
Installing Pi-hole
After configuring networking, I installed Pi-hole using the official installer. Once complete, I accessed the web administration dashboard and configured multiple DNS blocklists to filter advertisements, trackers, and known malicious domains.
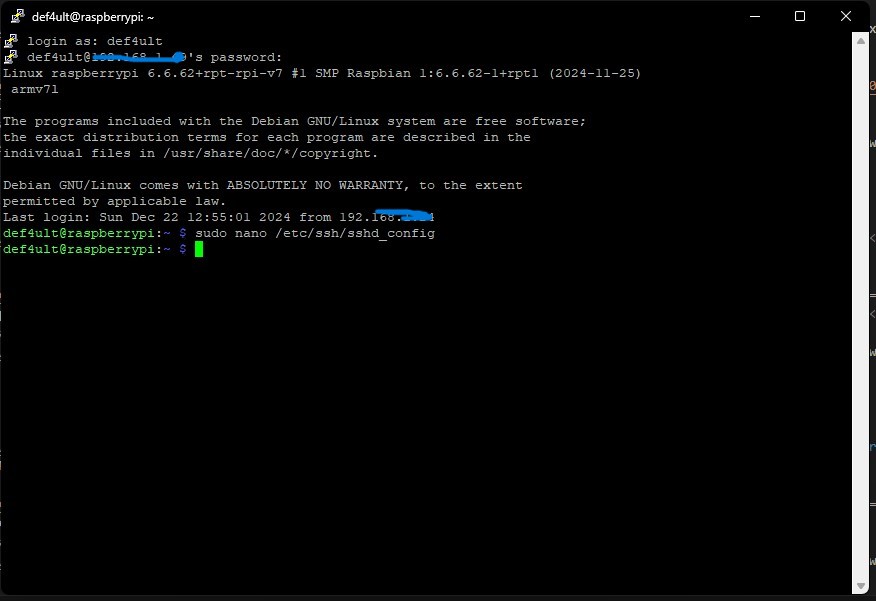
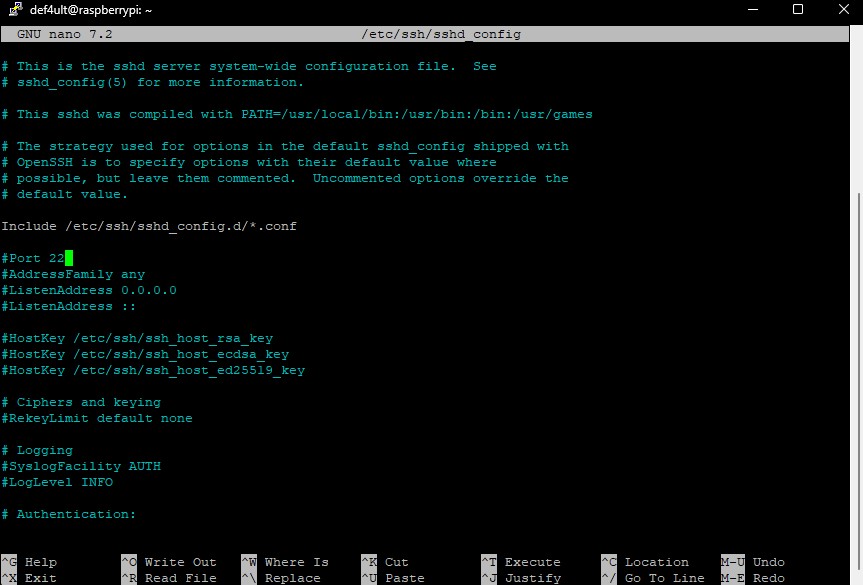
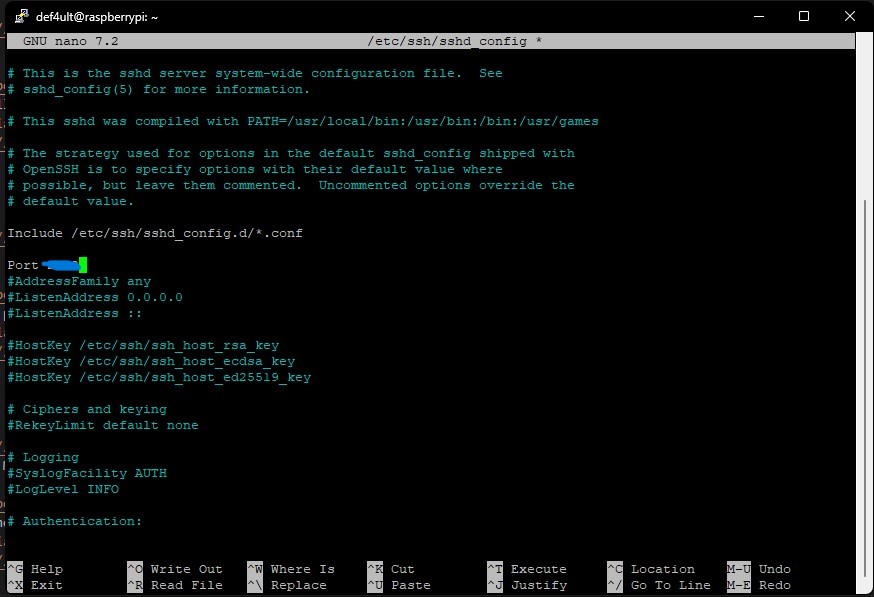
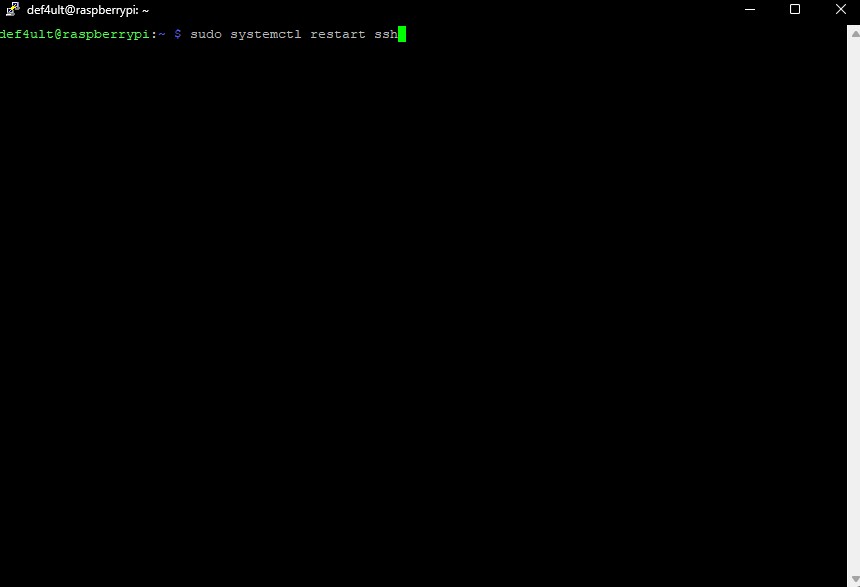
Hardening SSH
To reduce the attack surface, I modified the SSH configuration by moving the service away from the default port and restarted the SSH daemon to apply the changes.
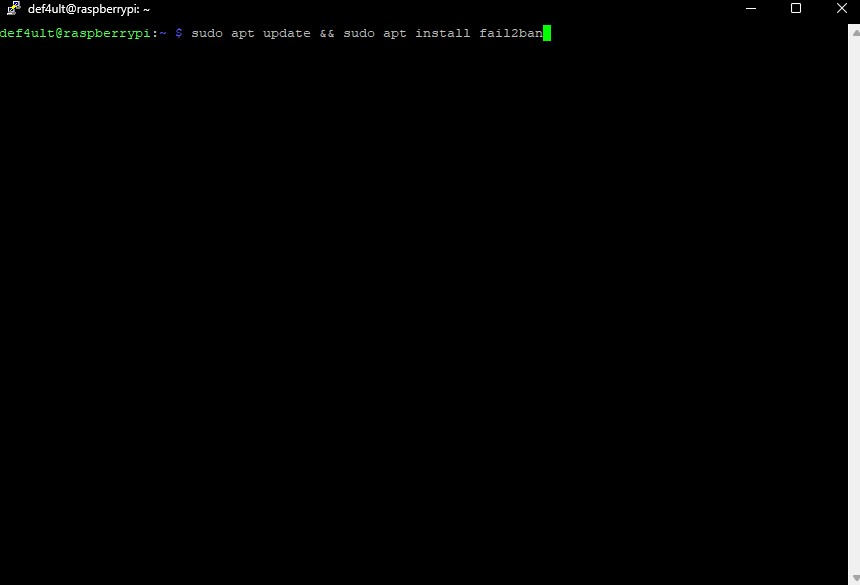
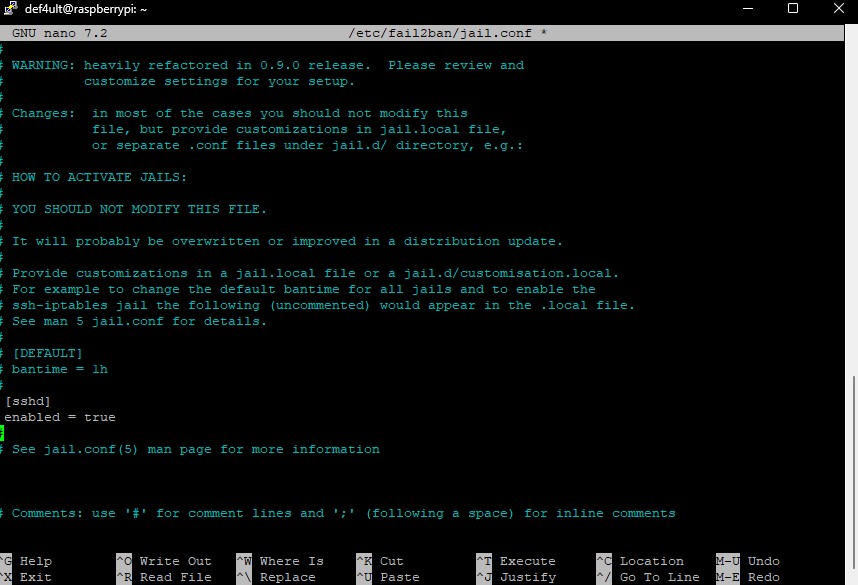
Installing Fail2Ban
I installed Fail2Ban and enabled SSH protection to automatically detect repeated failed login attempts and temporarily ban offending IP addresses.
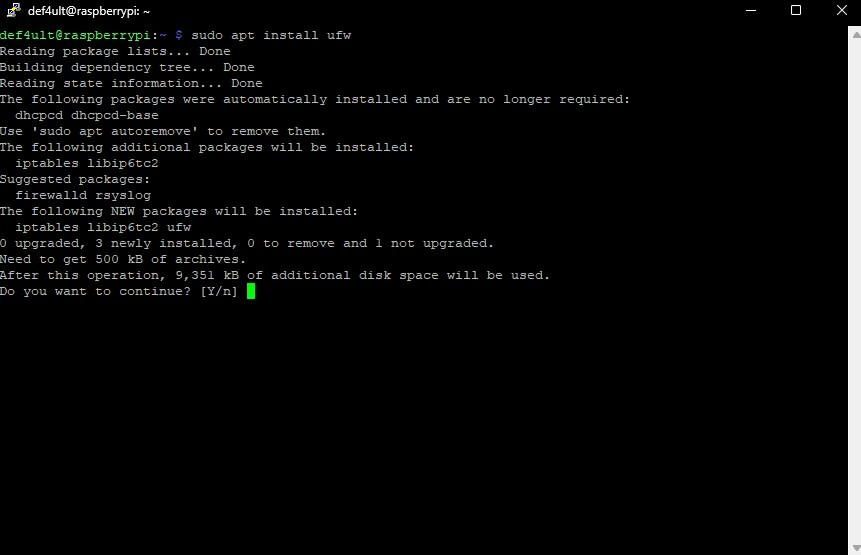
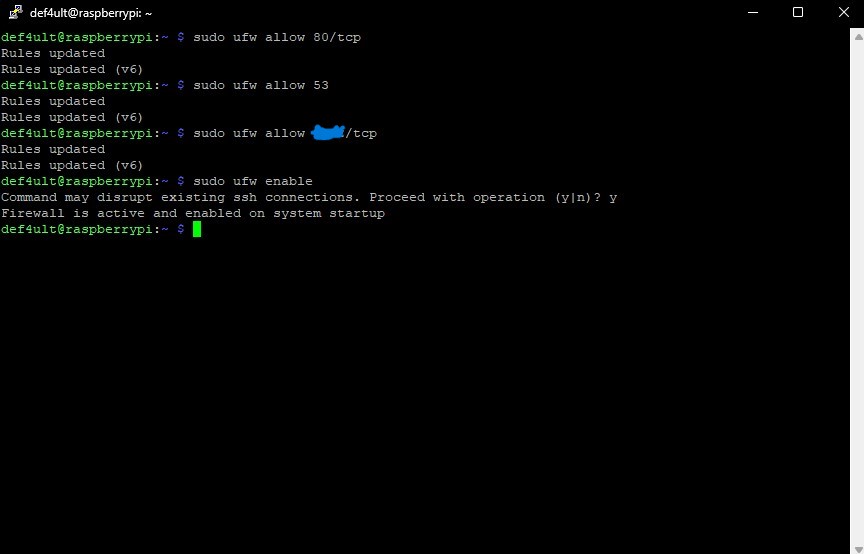
Configuring UFW Firewall
UFW was configured to allow only the services required for Pi-hole operation, including DNS, HTTP for the web interface, and my custom SSH port, before enabling the firewall.
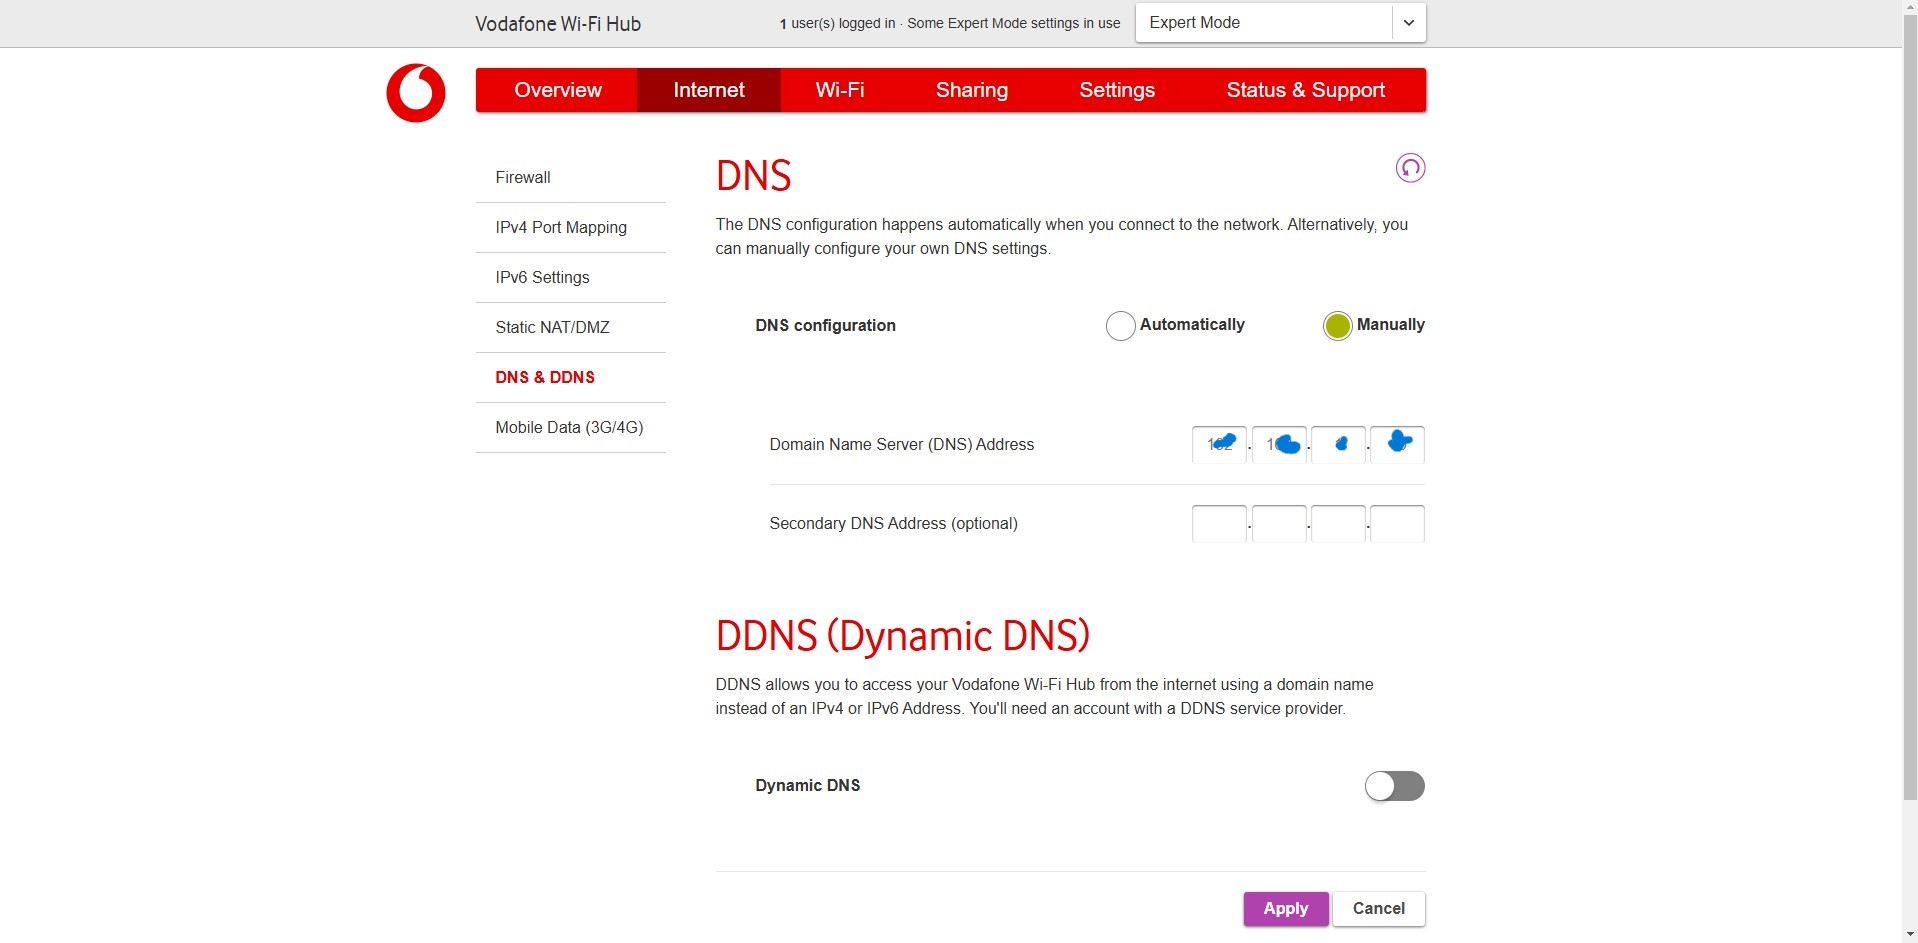
Router Configuration
Finally, I configured my router to use the Raspberry Pi as the network's DNS server. This allowed every connected device to automatically benefit from Pi-hole's filtering capabilities.
Final Result
After deployement, the system successfully blocked advertisments, trackers, and malicious domains across my entire network while remaining lightweight enough to run continuously on the Raspberry Pi Zero 2 W.

What I Learned
This project significantly improved my understanding of Linux system administration, DNS, and network security. I gained hands-on experience deploying services on Raspberry Pi hardware, remotely administering Linux systems through SSH, configuring firewall rules, hardening network services, and documenting a complete deployment process from installation to production use.